Beranda
/ Diy Iron On Transfer With Parchment Paper / DIY Temporary Tattoo | Temporary tattoo, Diy tattoo, Diy ... - To make and use an iron transfer, find an image online that you want to use as an iron on.
Diy Iron On Transfer With Parchment Paper / DIY Temporary Tattoo | Temporary tattoo, Diy tattoo, Diy ... - To make and use an iron transfer, find an image online that you want to use as an iron on.
Insurance Gas/Electricity Loans Mortgage Attorney Lawyer Donate Conference Call Degree Credit Treatment Software Classes Recovery Trading Rehab Hosting Transfer Cord Blood Claim compensation mesothelioma mesothelioma attorney Houston car accident lawyer moreno valley can you sue a doctor for wrong diagnosis doctorate in security top online doctoral programs in business educational leadership doctoral programs online car accident doctor atlanta car accident doctor atlanta accident attorney rancho Cucamonga truck accident attorney san Antonio ONLINE BUSINESS DEGREE PROGRAMS ACCREDITED online accredited psychology degree masters degree in human resources online public administration masters degree online bitcoin merchant account bitcoin merchant services compare car insurance auto insurance troy mi seo explanation digital marketing degree floridaseo company fitness showrooms stamfordct how to work more efficiently seowordpress tips meaning of seo what is an seo what does an seo do what seo stands for best seotips google seo advice seo steps, The secure cloud-based platform for smart service delivery. Safelink is used by legal, professional and financial services to protect sensitive information, accelerate business processes and increase productivity. Use Safelink to collaborate securely with clients, colleagues and external parties. Safelink has a menu of workspace types with advanced features for dispute resolution, running deals and customised client portal creation. All data is encrypted (at rest and in transit and you retain your own encryption keys. Our titan security framework ensures your data is secure and you even have the option to choose your own data location from Channel Islands, London (UK), Dublin (EU), Australia.
Diy Iron On Transfer With Parchment Paper / DIY Temporary Tattoo | Temporary tattoo, Diy tattoo, Diy ... - To make and use an iron transfer, find an image online that you want to use as an iron on.. Take a peek at these funky diy iron on transfer ideas and get your hands dirty with the creation. T shirt hacks t shirt diy diy clothes iron diy t shirt printing 5 min crafts. So let's take a look at 20 projects that help you learn how to do just that. Tear off a sheet of paper that's large enough to cover the entire piece of vinyl and smooth it down flat. Make sure to iron well over the corners so the image does not pill off.
You can also use a thin piece of cotton fabric or a towel to act as a barrier between your iron and the vinyl. Remove the parchment and feel around to see if any part of the transfer didn't adhere, especially the corners and edges. Lay a piece of parchment paper over the vinyl. In a photo editing software, reverse the image so that it appears backwards on the screen. When autocomplete results are available use up and down arrows to review and enter to select.
Rust & Sunshine: DIY Photo on Canvas from 1.bp.blogspot.com Remove the liner from the transfer paper with your design. Lay a piece of parchment paper over the vinyl. Either way i didn't post to get into an debate about whether or not you can iron a decal on with a household iron. There are plenty of companies that offer decals ready to iron on. I consider this brand to be the holy grail of transfer papers, as it completely blows away the other stuff out there. Discover the joys of craft printing and personalise your clothing with photos, typography, drawings and more. The ink on the parchment paper is very wet so you won't have a chance to reposition the parchment paper after your image comes into contact with the carving block. Once printed i placed the image face down on my surface, taped the edges and rubbed the image, ink side down, with a flat edge.
Touch device users, explore by touch or with swipe gestures.
Cut the parchment paper into the appropriate size for your printer. Make sure to iron well over the corners so the image does not pill off. The ink on the parchment paper is very wet so you won't have a chance to reposition the parchment paper after your image comes into contact with the carving block. To begin, i opened up my software and created a 5x7 inch document. I have that stuff all over my house between my own projects and the other half's. Peel back your parchment and your ink should remain on the surface. In a photo editing software, reverse the image so that it appears backwards on the screen. Remove the liner from the transfer paper with your design. I consider this brand to be the holy grail of transfer papers, as it completely blows away the other stuff out there. Once printed i placed the image face down on my surface, taped the edges and rubbed the image, ink side down, with a flat edge. Still didn't transfer, so i turned over the waxpaper and ironed it again and still nothing. So let's take a look at 20 projects that help you learn how to do just that. Don't use any water or steam.
Freezer paper is thick and has plastic or wax coating on one side. So let's take a look at 20 projects that help you learn how to do just that. There are plenty of companies that offer decals ready to iron on. It seems like people were just rejoicing and celebrating the arrival of summer and now we're … I knew there had to be an alternative to using it.and there is!
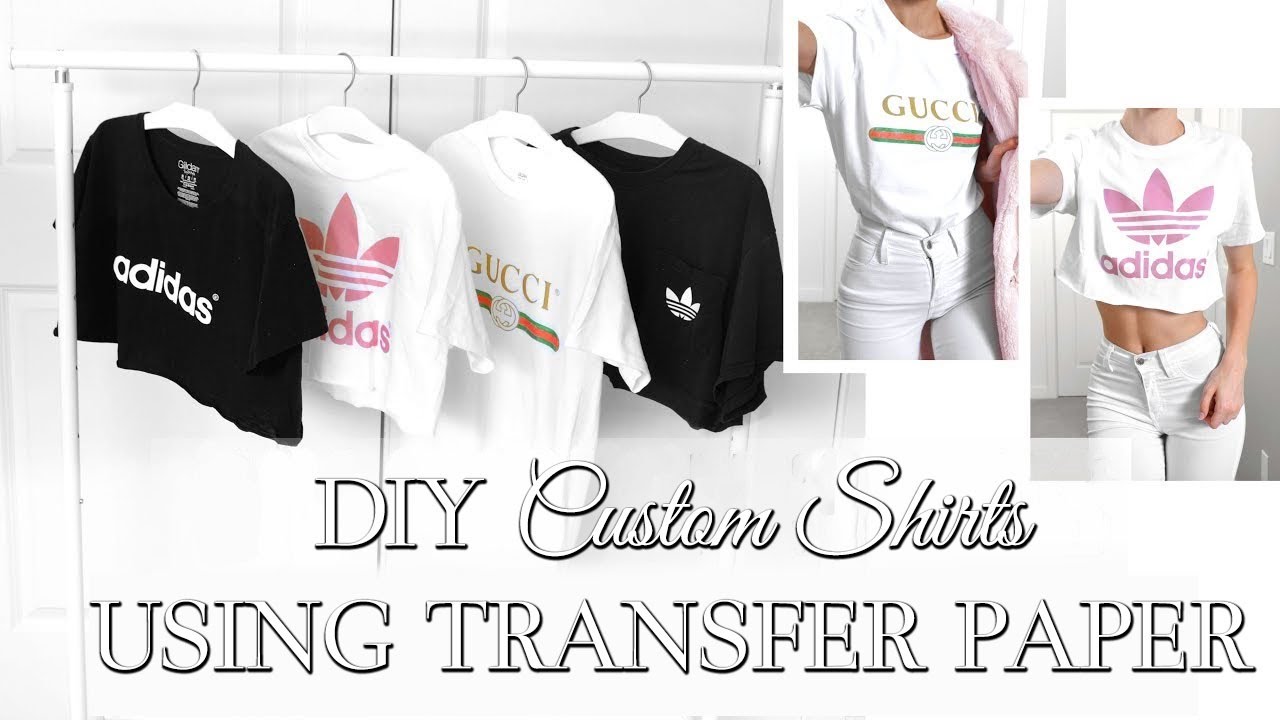
EASY DIY CUSTOM T SHIRTS // Whatever Design You Want ... from i.ytimg.com Take the iron, which should be set on high and begin to iron over image. To make and use an iron transfer, find an image online that you want to use as an iron on. I consider this brand to be the holy grail of transfer papers, as it completely blows away the other stuff out there. While they make paper in various sizes, these 11 x 17 opaque sheets are great for images that won't fit on traditional 8.5 x 11 sheets. In a photo editing software, reverse the image so that it appears backwards on the screen. Lay a piece of parchment paper over the vinyl. Once printed i placed the image face down on my surface, taped the edges and rubbed the image, ink side down, with a flat edge. I craft on a budget.and vinyl transfer paper is expensive!
Cover with parchment paper once its where you want it.
Start by cutting it into a sheet 8.5 inches (22 cm) by 11 inches (28 cm) in size and make sure you use an inkjet printer. Take a peek at these funky diy iron on transfer ideas and get your hands dirty with the creation. Next take your hot iron and place it on top of the parchment paper. Set the parchment paper into the printer in the same fashion you would regular copy paper. In a photo editing software, reverse the image so that it appears backwards on the screen. I personally have had great success with an iron. To begin, i opened up my software and created a 5x7 inch document. To get you started, you can even download my free patriotic image printable below! Cover with parchment paper once its where you want it. Gently press the iron, which should be set on medium heat, over the parchment, being sure to press the entire paper napkin. Make sure to iron well over the corners so the image does not pill off. Move the iron to the second row. I have that stuff all over my house between my own projects and the other half's.
Count to 15 then move the iron one iron width to the right. Repeat the pressing, cooling and peeling from the last step. If you've tried doing iron ons in the past, with crappy results, you will love this stuff! Painter's tape is the answer! Then, print the image onto a sheet of transfer paper for light or dark fabric, and trim the paper to fit the design.
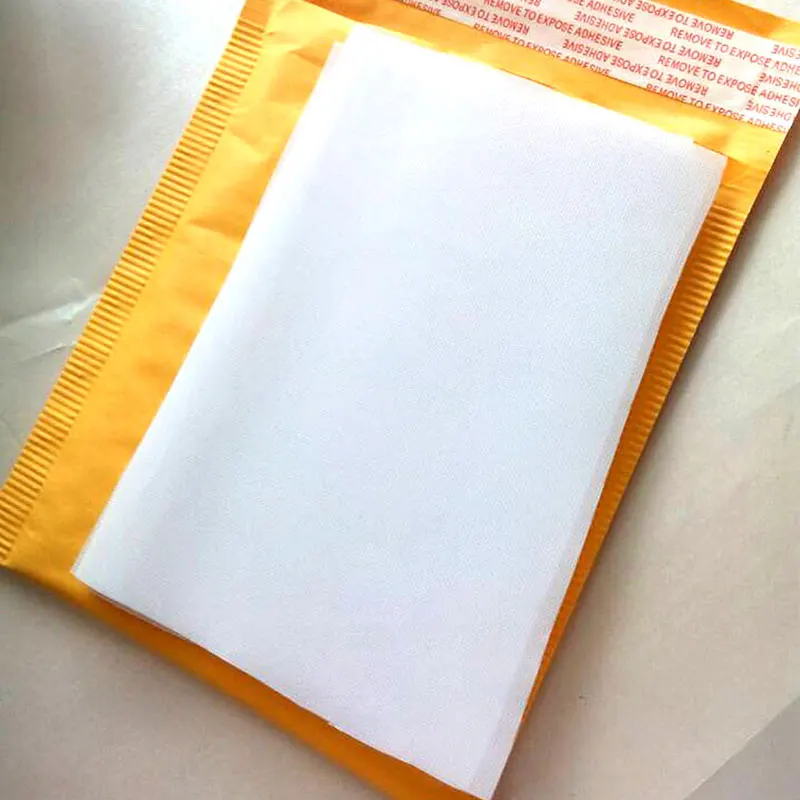
High Quality Hot Fix Paper & Tape 24cmX100cm Iron on Heat ... from ae01.alicdn.com Don't use any water or steam. Repeat the pressing, cooling and peeling from the last step. Hi, i really liked your tutorial. Count to 15 then move the iron one iron width to the right. Make sure to iron well over the corners so the image does not pill off. To make and use an iron transfer, find an image online that you want to use as an iron on. Buy some transfer sheets, create the design and follow the casual craftlete in her steps of creating this adorable farmer's market tote bag. Next take your hot iron and place it on top of the parchment paper.
Painter's tape is the answer!
Use a regular sheet of paper for a template. Next take your hot iron and place it on top of the parchment paper. It's time to get ready for summer.and vinyl is the newest in thing! T shirt hacks t shirt diy diy clothes iron diy t shirt printing 5 min crafts. Place the iron in the upper left hand corner of the brown paper. Remove the parchment and feel around to see if any part of the transfer didn't adhere, especially the corners and edges. Make sure to iron well over the corners so the image does not pill off. While they make paper in various sizes, these 11 x 17 opaque sheets are great for images that won't fit on traditional 8.5 x 11 sheets. Count to 15 and continue the process. Either way i didn't post to get into an debate about whether or not you can iron a decal on with a household iron. Set the parchment paper into the printer in the same fashion you would regular copy paper. Remove the liner from the transfer paper with your design. You can create a graphic tee using.